CMYK Success

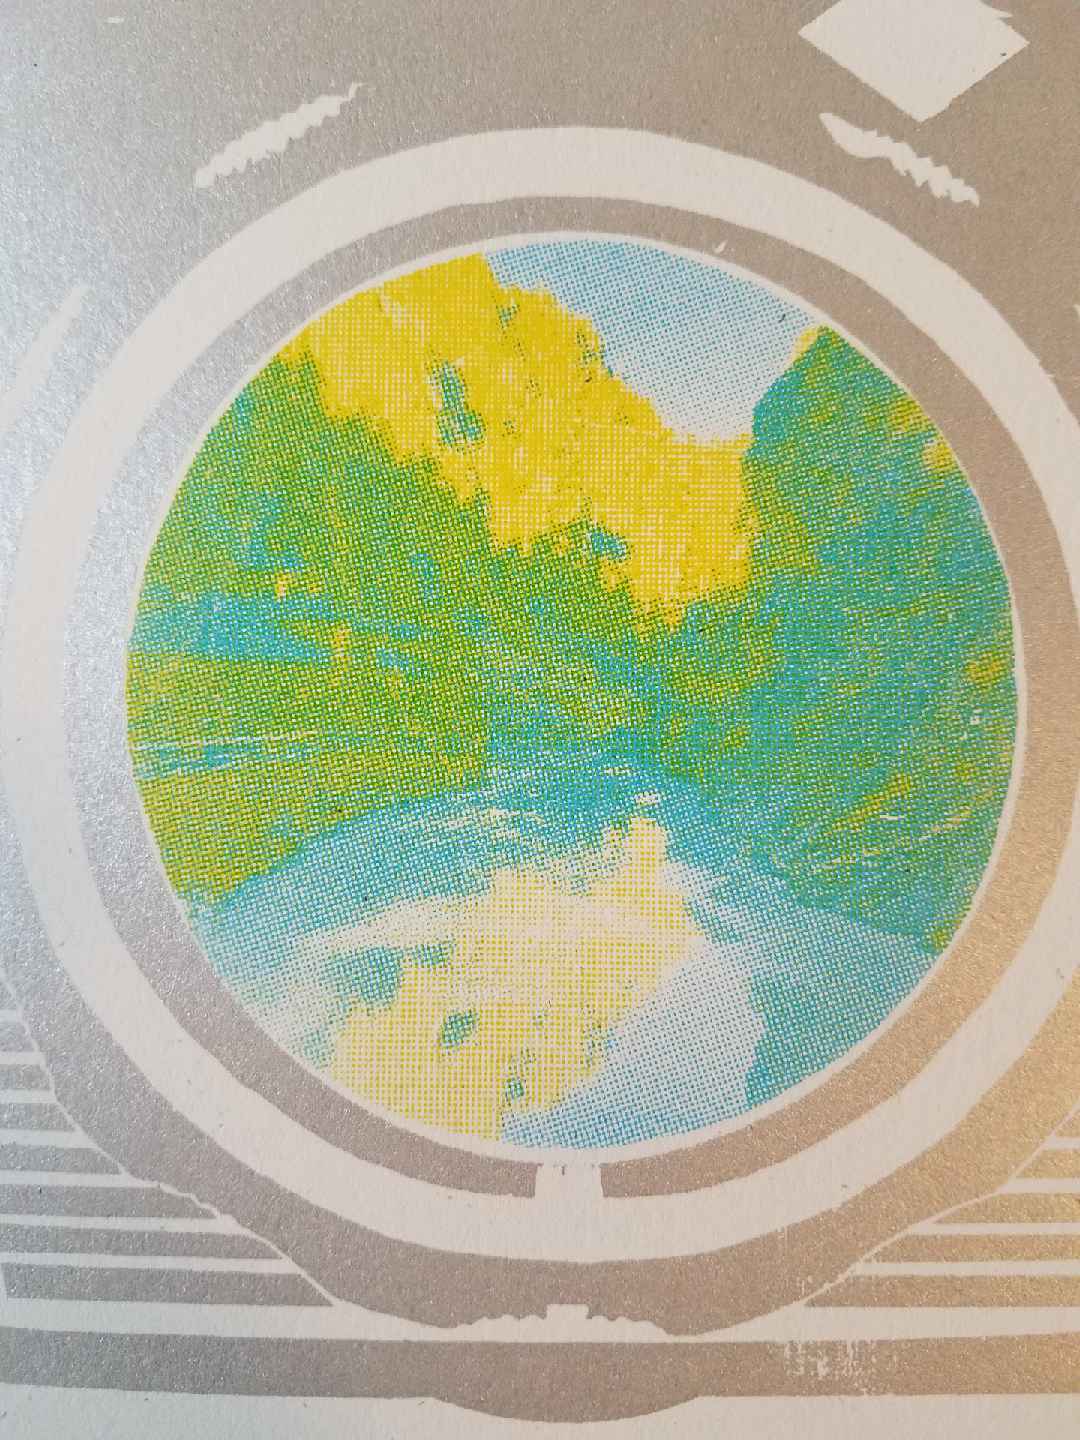
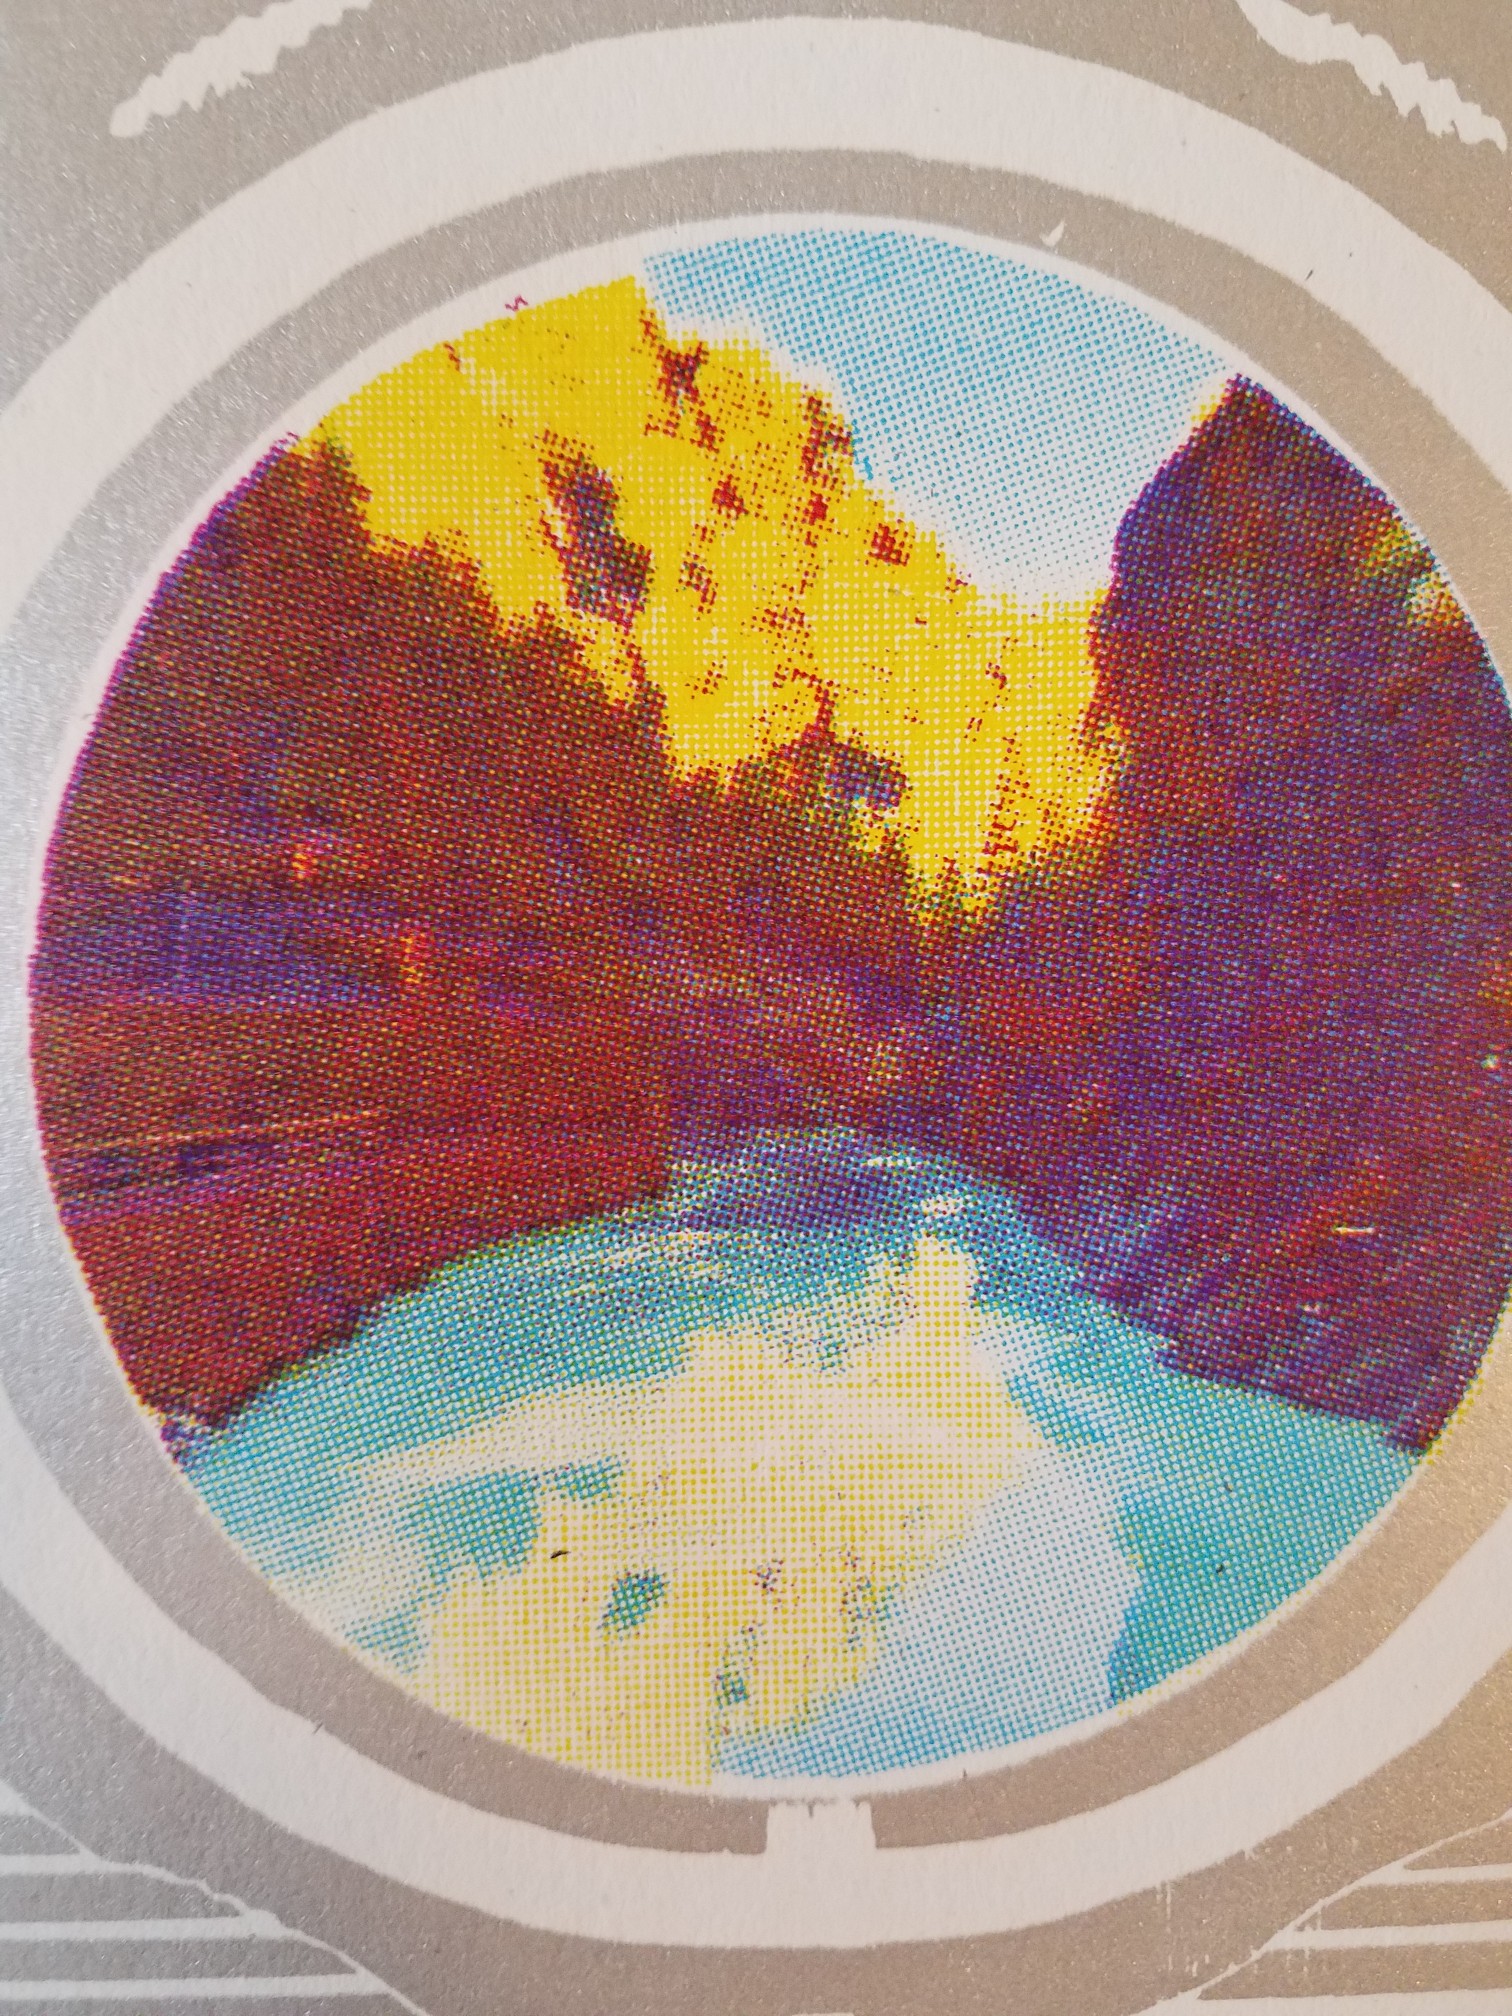
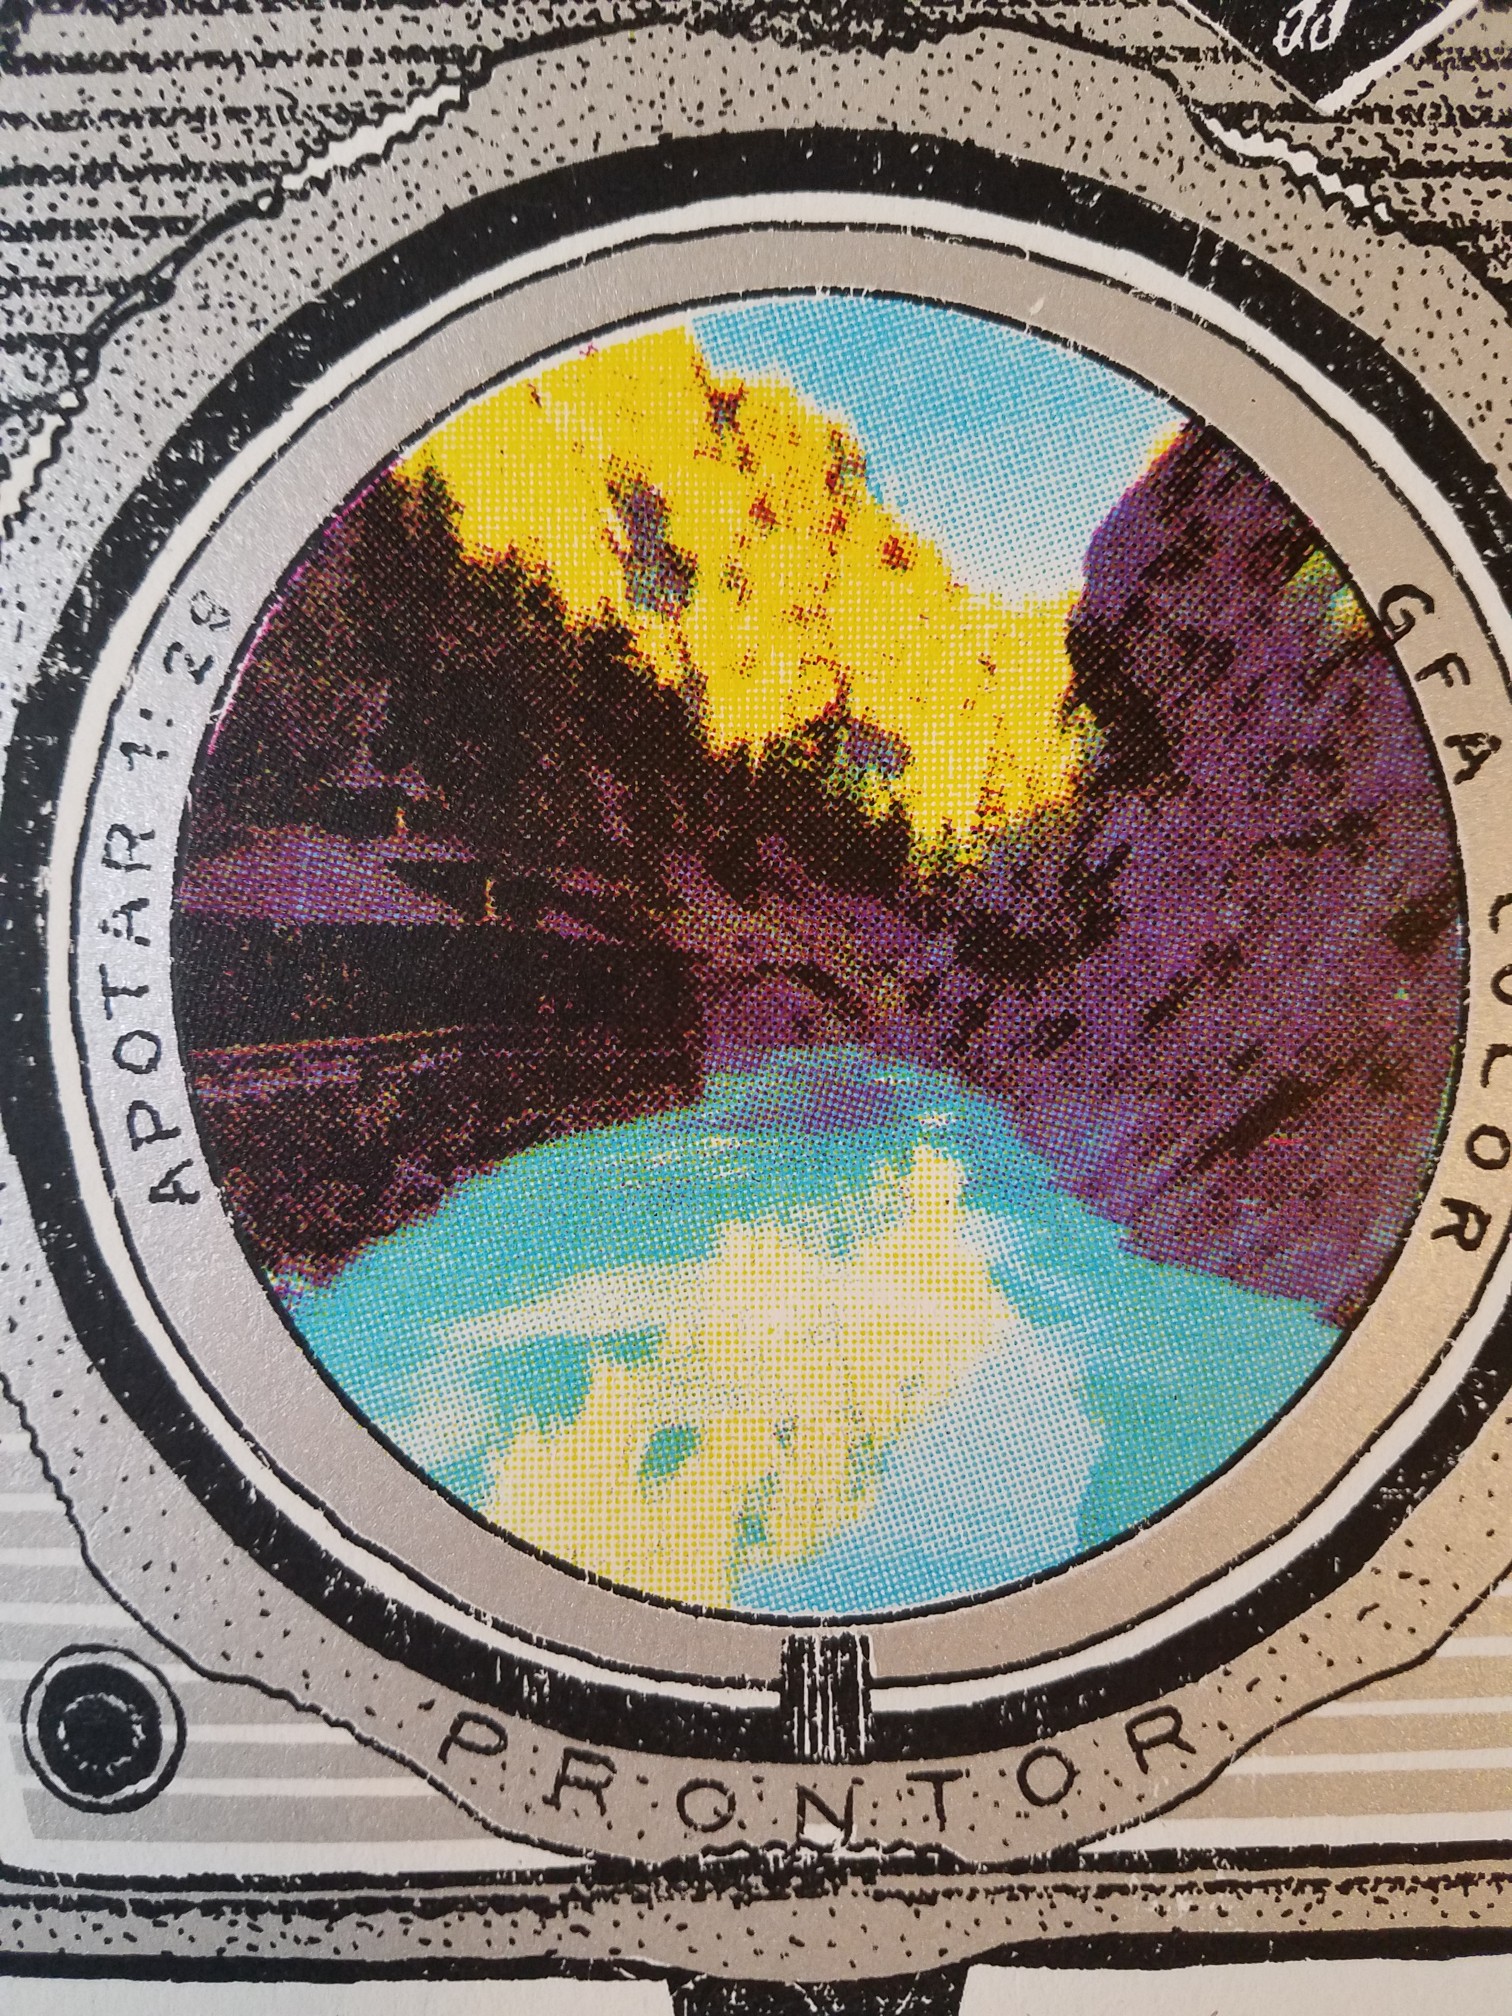
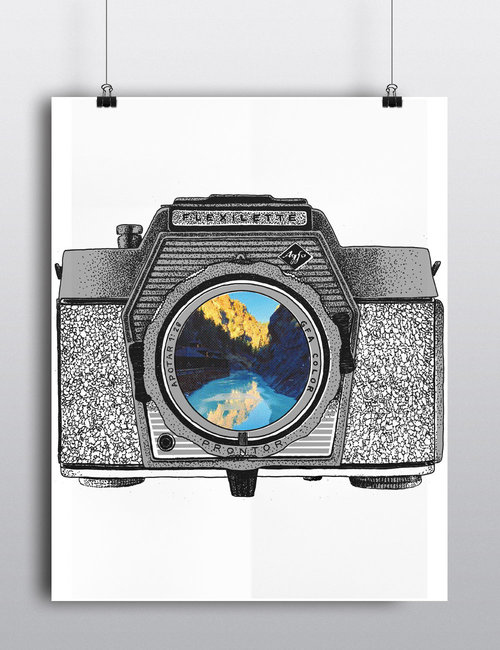
The studio’s been working better than I could have expected and the one test I was most nervous about came out great. Printing in CMYK takes some really dialed in exposure times and tight registration. I’ve wanted to take on this project for quite some time but hadn’t had the chance. The camera is hand illustrated and the picture was taken on a Winter hike at 7 Falls in Colorado. An awesome collaboration and a print I’m incredibly happy with. CMYK with metallic ink:

New Apartment Studio Up and Running!

I was inspired to write this post about my new build by a pretty awesome print community; this is the first time I've tried to document something like this so hopefully it makes sense!

I've tried and failed so many times to make a space-saving yet effective print setup in my apartment.  After a lot of trial and error (and a lot of internet help) I was able to develop this:

It all started with this game changer, with the Canon Pixma iX6820 I'm able to print transparent films at 13 by 19 inches at a sharp true black.  Once this worked I was determined to get the rest of the studio running.

It all started with this game changer, with the Canon Pixma iX6820 I'm able to print transparent films at 13 by 19 inches at a sharp true black.  Once this worked I was determined to get the rest of the studio running.

Because I live in a small-ish apartment in a big city I wanted to build a light box setup that was easily torn down and stored.  I built this accordion style base and mounted 8 2' UV LED Blacklight strips in 3.25 inch spacers on an ikea tableto…

Because I live in a small-ish apartment in a big city I wanted to build a light box setup that was easily torn down and stored.  I built this accordion style base and mounted 8 2' UV LED Blacklight strips in 3.25 inch spacers on an ikea tabletop I had laying around.  It's light weight and I can set this on top of my accordion base and my box is built.  I likewise slide in a piece of black foam core to stop any reflections that might be caused by the hardwood floor.

I'm able to store all 8 23" x 31" screens in my closet and use a photo safe bulb in a bedside lamp to use my bedroom as a dark room.  1 bedroom apartment, what can you do?  Instead of using glass to keep my films flat I use vacuum sealed s…

I'm able to store all 8 23" x 31" screens in my closet and use a photo safe bulb in a bedside lamp to use my bedroom as a dark room.  1 bedroom apartment, what can you do?  Instead of using glass to keep my films flat I use vacuum sealed space saver bags and slide the screen underneath my lights to expose my screens.  I'm currently working with 10-15 second burn times.  I get an easy showerhead blowout and so far some amazing detail as pictured in the heart below.

10 second exposure time with a great stencil and some awesome detail!

10 second exposure time with a great stencil and some awesome detail!

Once I blow out the screen with my shower-head (no high pressure needed on the stencil blowout) I let it dry in the tub.  Next I slide it into these hinge clamps, throw on the days print pumping music and get to work!  No tight registratio…

Once I blow out the screen with my shower-head (no high pressure needed on the stencil blowout) I let it dry in the tub.  Next I slide it into these hinge clamps, throw on the days print pumping music and get to work!  No tight registration tools on the table for my last run but I use reg pins for particularly tight prints.  I hook a pressure washer into a two way valve off my shower head to batch reclaim screens when they're all used up!

That's the long and short of it.  I couldn't be happier with the setup, for personal work at home this was incredibly cost effective, I had most of the stuff laying around my apartment!  

New Work and Repurposing

It's been a little bit since we've posted anything but we've been busy working on new prints for friends (like bachelorette posters, that's a thing now), but we've decided to repurpose some of this work to print for ourselves!

Not much else to say, Spring's coming and the creative juices are flowing.

New prints coming soon, for now here's a look at two new poster designs and some wedding invites!

10,000 Hours

This is my first attempt at inking and etching on clayboard, the piece is called 10,000 hours.  It's intended to show the result of dedicated work in a hardened and beautiful way.  While the finished piece didn't total out at 10,000 hours, it was a labor of love and a piece I'm very proud of.  It opened up new doors in how to create and processes to use in the future.

The print is hand screen printed on recycled and bright white paper (off-white recycled) and measures 11"x14" (Standard Print Size).  The ribbon is hand watercolored.  

Tuamgraney Castle, County Clare - Ireland

Hey all, we're back with a shiny new site and some new work, but first, how've you been?  Good.  

This print was illustrated and designed over the period of a month; it was illustrated and etched on a piece of 11" X 14" piece of clayboard.  After the illustration was complete, I scanned it in and broke plates up to print.  The final print is 16" X 20" on 110lb recycled French Paper.  It is a single color, hand pulled print with watercolor added over the foliage growing on the castle.

It's a proud piece of my family's heritage and I'm happy to share!